Creating and sending emails in React has been a pain point for many developers. If you're a self-taught developer like me, it's likely an extremely frustrating process to try and learn how to implement this functionality. However, with the creation of Resend and React Email, creating email templates and sending emails with React and TypeScript is now much easier. I won't cover React Email in this post but I do think that you should check it out because it is made by the same team who developed Resend.
In this article, I will show you how to get Resend set up, add DNS records, and then create the API route to send the email.
Before you get started
For what it's worth, I am using shadcn/ui components and zod to build and validate my form. To follow along with this guide, I am assuming you already have a contact form built based on shadcn/ui's Form component.
You will also be required to verify a domain name, so you will need access to your DNS records.
Below is the contact form that I am using to explain how to implement Resend so you can receive messages from your own contact form.
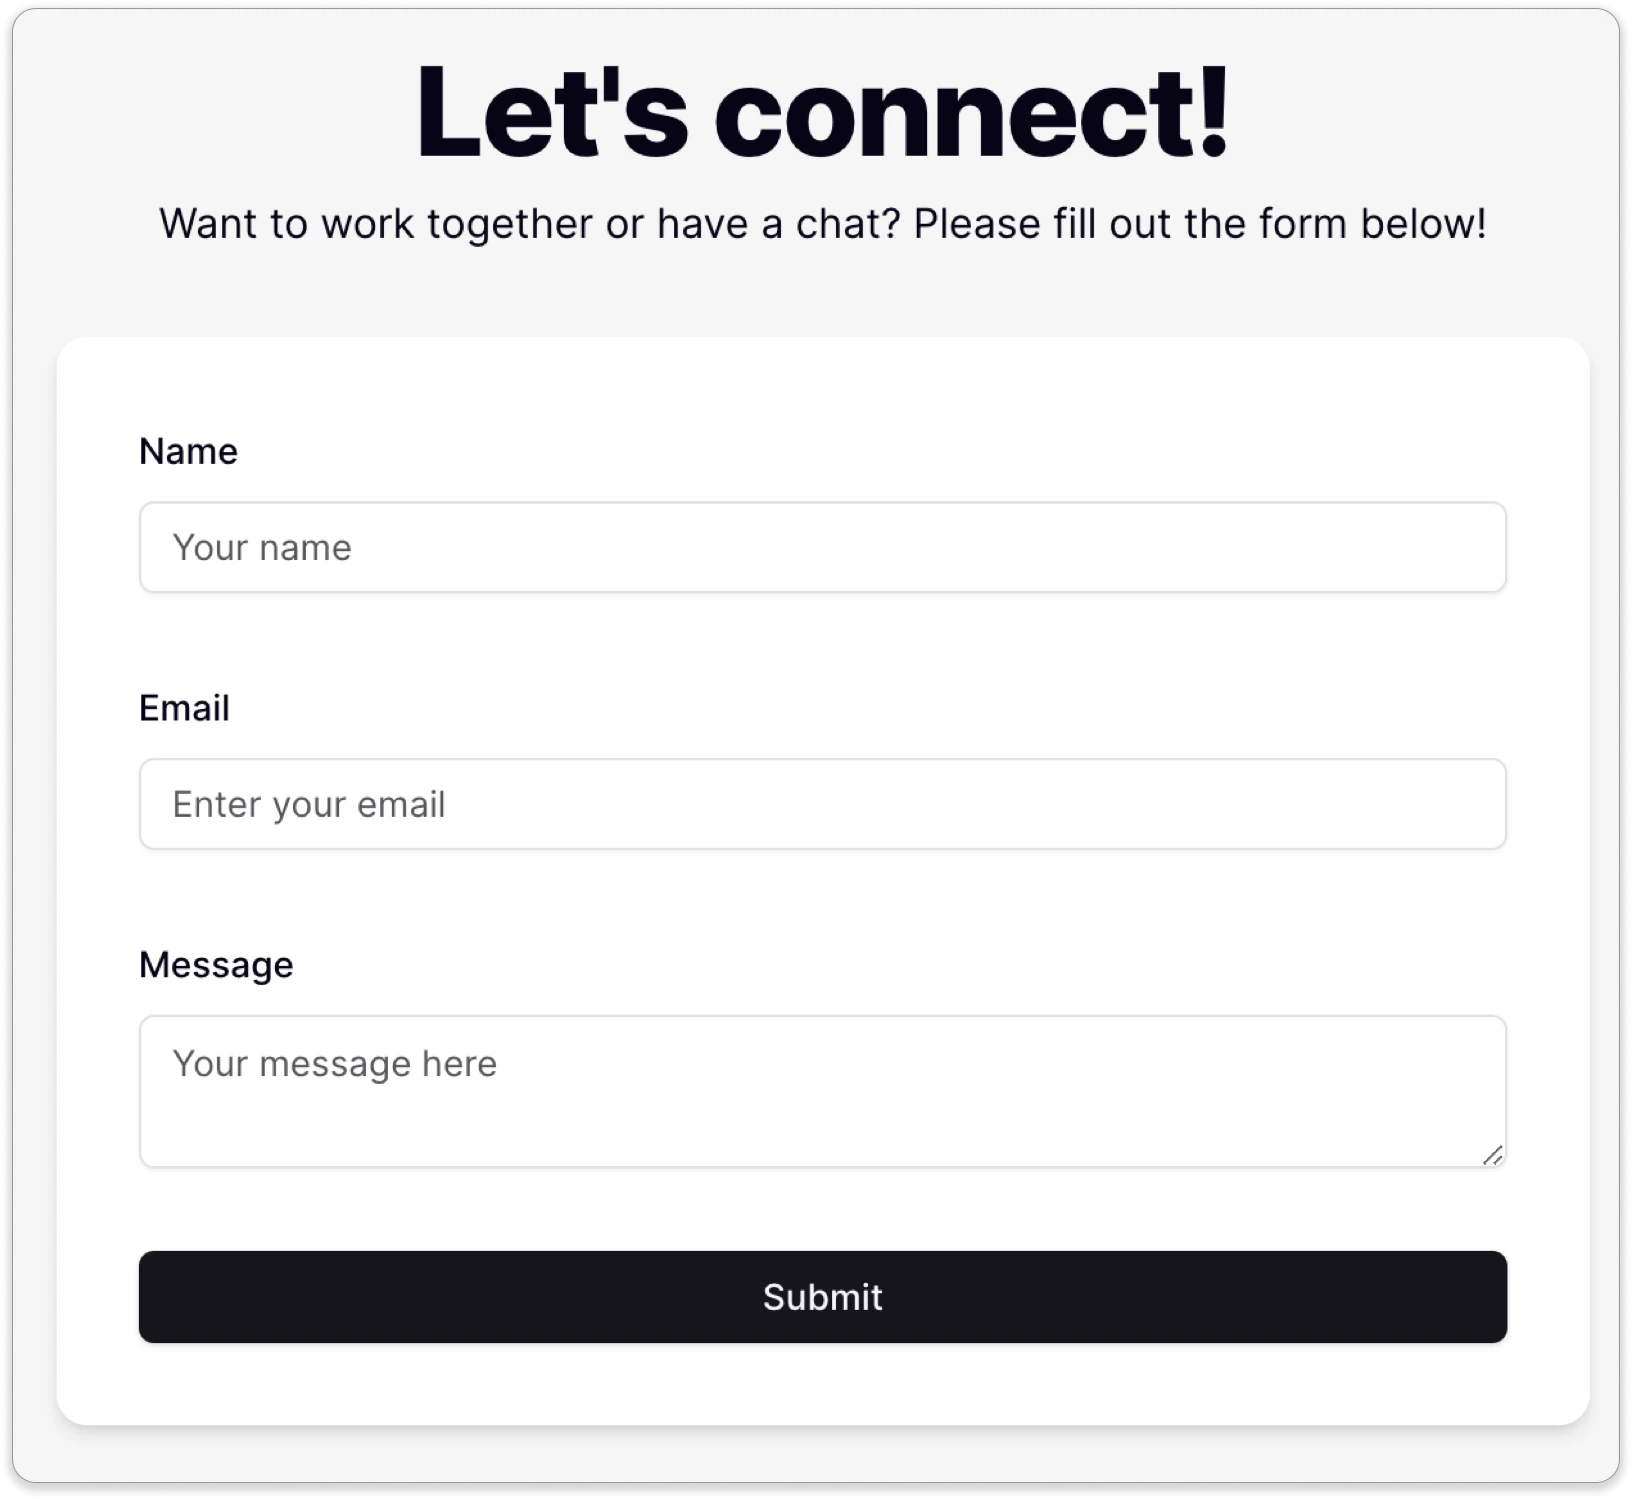
I won't cover how to set up the Next.js project or how to build a form using shadcn/ui. Instead, I will focus on setting up Resend, building the email template, configuring the API route, and updating the onSubmit handler.
Setting up Resend
If you have not already, done so, head over to Resend and sign up or login.
Get your API key
Once you are logged in, you should be able to see your dashboard. Look for the Create API Key button, and click it. You should see a form similar to the one pictured below.
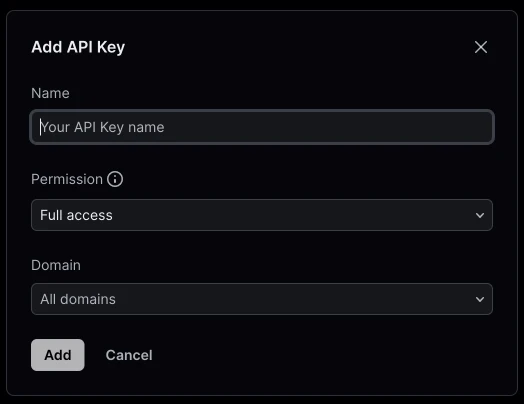
- Name your API key.
- Choose your API permission. For the purpose of the contact form, you will only need sending access.
- Choose your domains. If you are on their free plan, like I am, you will not be able to choose a domain since you can only have 1 domain.
- Create a
.env.localfile in the root of your project. - Click Add to create the new API key and copy it to your
.env.localfile.
RESEND_API_KEY=************NOTE: You will only be able to see and copy your API key ONCE so be sure to copy it and immediately paste it into your project.
Verifying your domain
Next, visit the Domains tab in Resend and click the Add Domain button. You can use your root domain like "example.com" or you can create a subdomain like "mail.example.com" to send your emails from. Once your enter your domain and choose a region closest to your location, you should see a screen that looks somewhat like this:
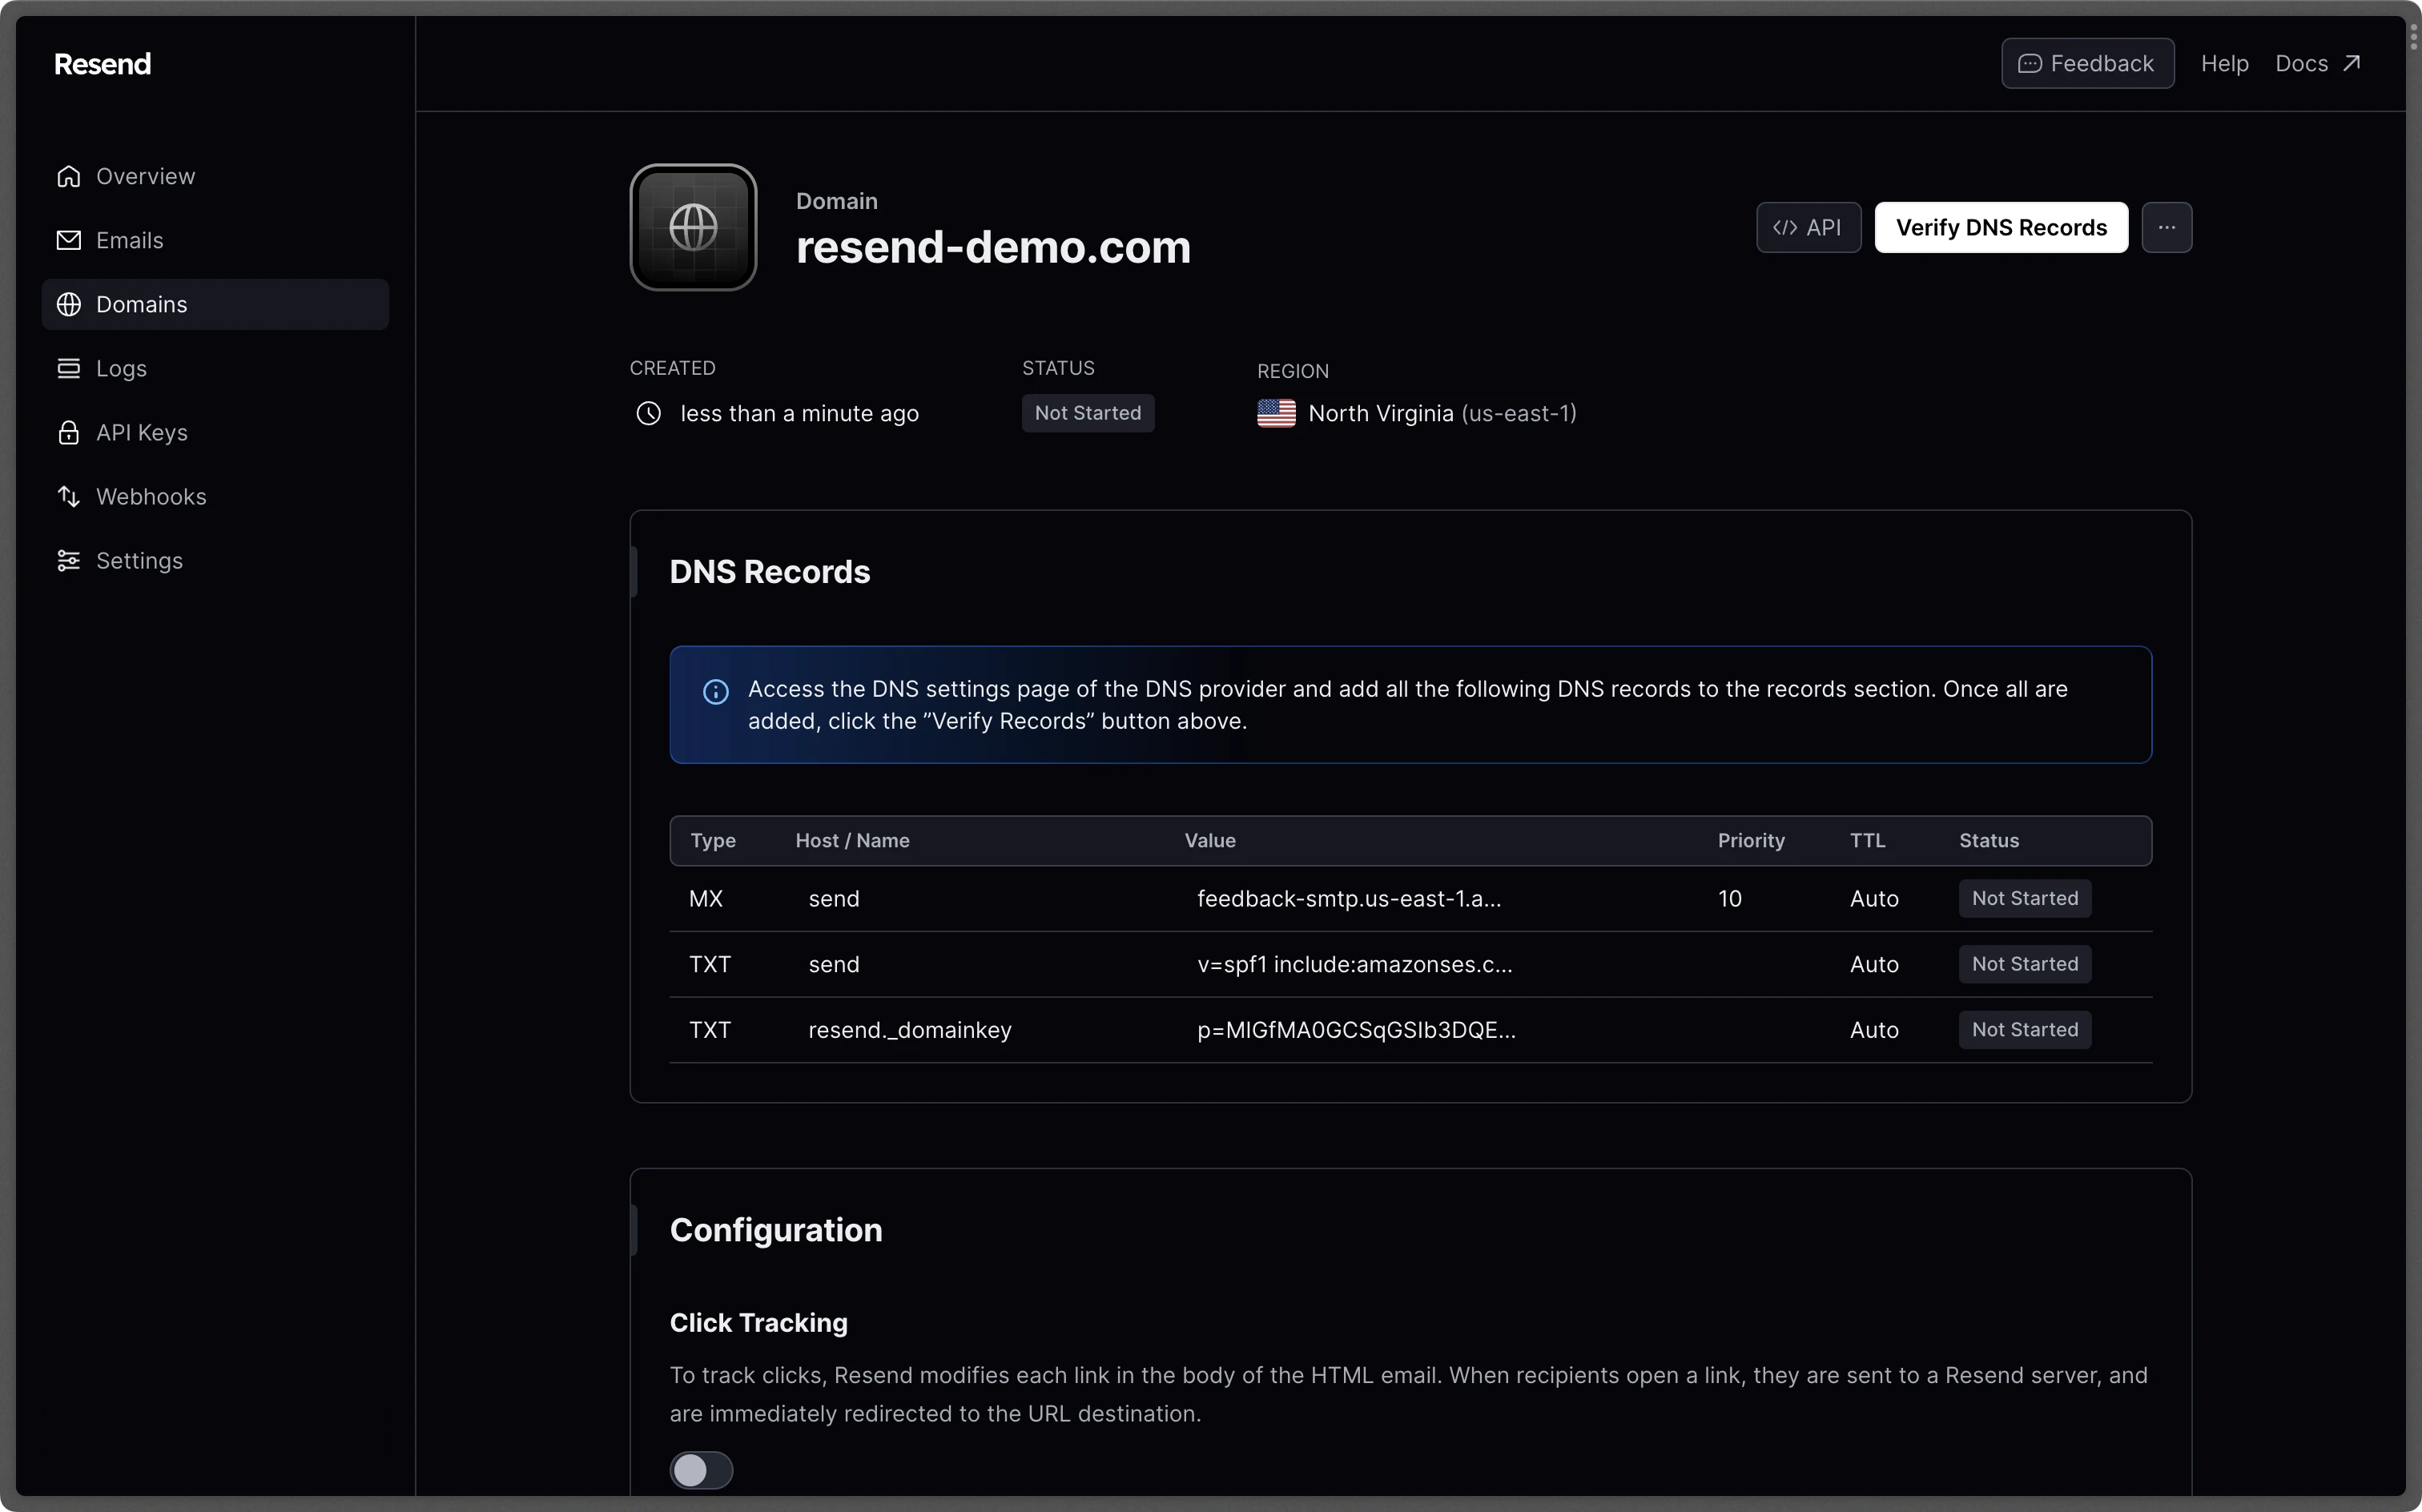
Update your DNS records
Resend provides instructions for updating your DNS records if your DNS provider is Namecheap or Cloudflare.
If you are managing your DNS records on Vercel, log into your account and click on Domains. You need to be at the account level in order to access this. Click on View Details for the domain you are using on Resend.
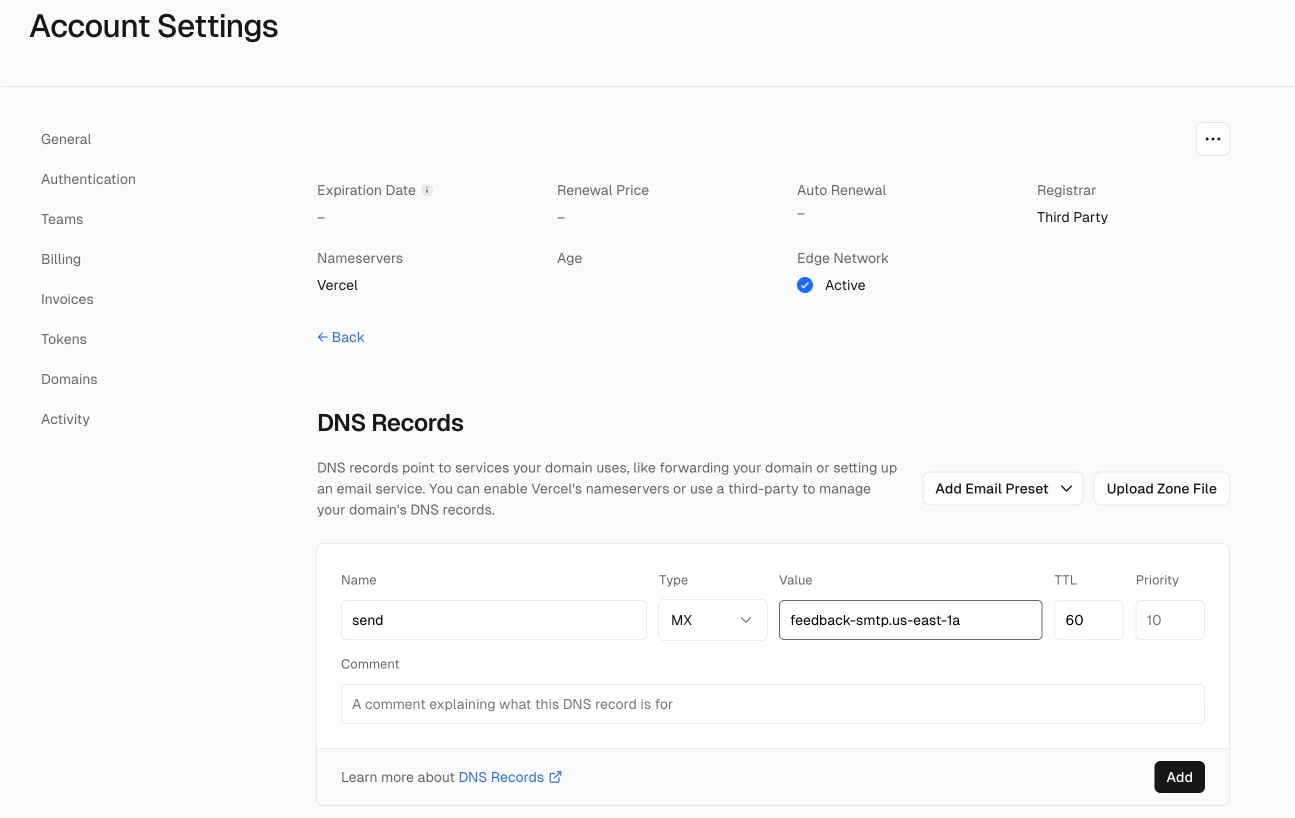
Add all of the new DNS records and then click the Verify Records button. Checkout this guide if you are having trouble verifying your domain.
Creating your subdomain
If you decided to create a subdomain to send your emails from, you will need to add another DNS record. Let's look at an example for adding a mail subdomain on vercel.
- Type: CNAME
- Host/Name: mail (or whatever your subdomain is)
- Value: cname.vercel-dns.com.
Creating your email template
Now that we have that setup out of the way, let's get to the fun part — coding!
In your components folder, create a new file for your email template.
The only thing that will change for each email are the form data values. In my case, that is the name, email address, and message the user provides. So first, we will want to make an interface for that.
interface ContactEmailTemplateProps {
  fullName: string;
  email: string;
  message: string;
}
Next, we want to build the email template component itself. This is a basic unstyled example, but it's okay because I will be the only one receiving these emails. When building your template, you might want to check out that React Email tool I talked about earlier.
export const ContactEmailTemplate: React.FC<Readonly<ContactEmailTemplateProps>> = ({
  fullName,
  email,
  message,
}) => (
  <div>
    <h1>Hi, Ekom!</h1>
    <p>
      You have a new message from {fullName}:{email}!
    </p>

    <h2>Message:</h2>
    <p>{message}</p>
  </div>
);
Sending the email with Resend
Now let's get ready to actually send the email! To be able to send the email, we need to create the API endpoint. Create a file: /app/api/send/route.ts. In this file you will need a couple of imports:
import { NextRequest, NextResponse } from "next/server";

import { Resend } from "resend";
import { z } from "zod";

import { ContactEmailTemplate } from "~/components/global/contact-email";
Now we need to create the actual POST request:
export async function POST(req: NextRequest) {}In this function there are a couple of things we need to do:
- Create an instance of the Resend SDK.
- Create the sendRouteSchema for the request body.
- Destructure the request body.
- Create the function to send the email.
Create the Resend SDK instance
const resend = new Resend(process.env.RESEND_API_KEY);If you used a different name for your environmental variable, please update your code accordingly.
Create the sendRouteSchema
const sendRouteSchema = z.object({
  fullName: z.string().min(1),
  email: z.string().email(),
  message: z.string().min(2),
});
Your schema should match your contact form fields because it represents the request body that was sent from the client.
Destructure the request body
const { fullName, email, message } = await req.json().then((body) => sendRouteSchema.parse(body));Create the function to send the email
try {
    const { data, error } = await resend.emails.send({
      from: `Portfolio Contact Form <your email>`,
      to: ["your email"],
      subject: `New Message from ${fullName}!`,
      text: "",
      react: ContactEmailTemplate({ fullName, email, message }),
    });

    if (error) {
      return NextResponse.json({ message: "Email sending failed", error }, { status: 400 });
    }

    return NextResponse.json({ message: "Email sent successfully", data }, { status: 200 });
  } catch (error) {
    console.error("Error sending email:", error);
    return NextResponse.json({ message: "Failed to send email", error }, { status: 500 });
  }
If you have verified your domain, you can use an email from that domain in the from field. The email does not have to exist, however that is what will be shown to the recipient, which in my case, is me.
In the to field, you'll want to put your own email address in order to receive the emails. You can use the same subject field for every email, or include a field from your contact form like I did.
If you need to secure the email addresses, feel free to set them as environmental variables.
You'll notice that the text field is blank. This is because without having this field, we will get a TypeScript error. If you are writing emails that other people are receiving, you will want to include a plain text version incase they are unable to view the HTML version. Because I have no issue with that, I am leaving this blank.
You don't have to use a try block, however, I like to be able to catch the error and display it in the console.
Update the form submit handler
Now for the finishing touches!
In your ContactForm component, you probably have a submit handler that looks something like this:
function onSubmit(values: z.infer<typeof formSchema>) {
  // Do something with the form values.
  // ✅ This will be type-safe and validated.
  console.log(values);
}
We need to update the function to be an async function and then fetch the API endpoint.
First, you will want to mark your onSubmit function to async because we are going to add an await statement. My await statement looks like this:
await fetch("/api/send", {
  method: "POST",
  body: JSON.stringify({
    fullName: values.fullName,
    email: values.email,
    message: values.message,
  }),
});
Of course you will want to update the API endpoint based on where you created your file and update the body values to correspond to your own contact form.
Conclusion
In wrapping up, sending emails with your Next.js app using Resend can significantly streamline your development process! By following the steps we've walked through—from setting up Resend and adding DNS records to crafting your email template and configuring the API endpoint — you'll be well on your way to effortlessly managing email communications directly from your contact form. Hopefully, this guide has made the process less daunting and more manageable. Don't forget to check out tools like React Email to take your email templates to the next level. Now, you're all set to enhance your Next.js projects with smooth and efficient email functionality. Happy coding!
